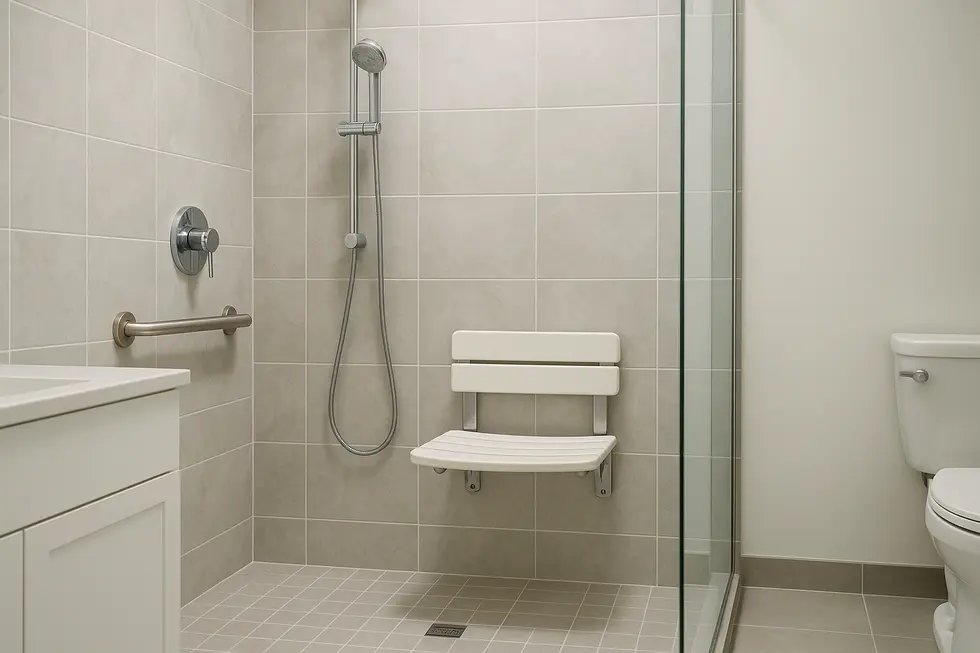
Shower Seat
Mastering Wall-Mounted Shower Seat Installation: A Comprehensive Guide
Jun
Installing a wall-mounted shower seat is more than just a trendy update—it’s a commitment to enhancing safety and accessibility in your bathroom. This process involves selecting the right materials, ensuring compliance with safety standards, and maintaining the installation for long-term use. In the following chapters, we delve into the critical stages of planning, installation, and verification to ensure your shower seat not only meets but exceeds your expectations.
Blueprint for Success: Essential Pre-Installation Planning of a Wall-Mounted Shower Seat

Before a single hole is drilled, thoughtful planning determines whether a wall-mounted shower seat becomes a lifelong asset or a liability. Everything starts with the unseen skeleton of the wall. Scan the enclosure with a high-frequency stud finder, then confirm with a tiny test pilot hole; you must intersect solid 2 × 4 framing—or blocking of equal strength—because tile, backer board, and drywall contribute virtually no pull-out resistance. Note stud spacing and mark a precise centerline at ADA-compliant seat height (430–485 mm). This reference line guides both blocking placement on an open stud wall or fastener positioning on a finished surround.
Next, consider the bracket or hinge plate that will translate user weight into the wall. Its length should mirror the seat’s width so the load path remains vertical. For instance, a 600 mm seat pairs with a 600 mm bracket that buries roughly 75 mm inside the cavity while leaving sufficient cantilever to support the platform. Choose marine-grade aluminum or stainless steel hardware; lesser metals corrode rapidly in steam-rich bathrooms.
If the shower is still at the framing stage, install 19 mm exterior-grade plywood between studs, flush with their faces. This continuous backing means you can later position the seat anywhere within that zone rather than being locked to stud centers. Once waterproof boards and membranes go up, their seams must overlap the blocking, and fastener penetrations will be sealed with an elastomeric caulk during final installation.
Seat style also influences planning. Folding models need clear space when stowed; L-shaped seats demand extra blocking on the return wall. Analyse user profiles now: will an older adult need lateral transfer from a wheelchair? If so, verify the stated load rating exceeds 250 lb proof testing and opt for textures that remain slip-resistant when wet.
Document all measurements, take photographs before tiling, and store them with the homeowner’s manual. These records streamline any future adjustments and support warranty claims. For a deeper walkthrough of the mounting sequence, see this step-by-step wall-mounted shower seat installation guide (https://pegabidet.com/2025/06/09/install-wall-mounted-shower-seat/). Additional structural illustrations are available in the manufacturer installation guide (https://originalgranitebracket.com/products/new-the-original-shower-bench-bracket).
Lock-Tight & Leak-Proof: Mastering Structural Fastening and Waterproofing for a Wall-Mounted Shower Seat
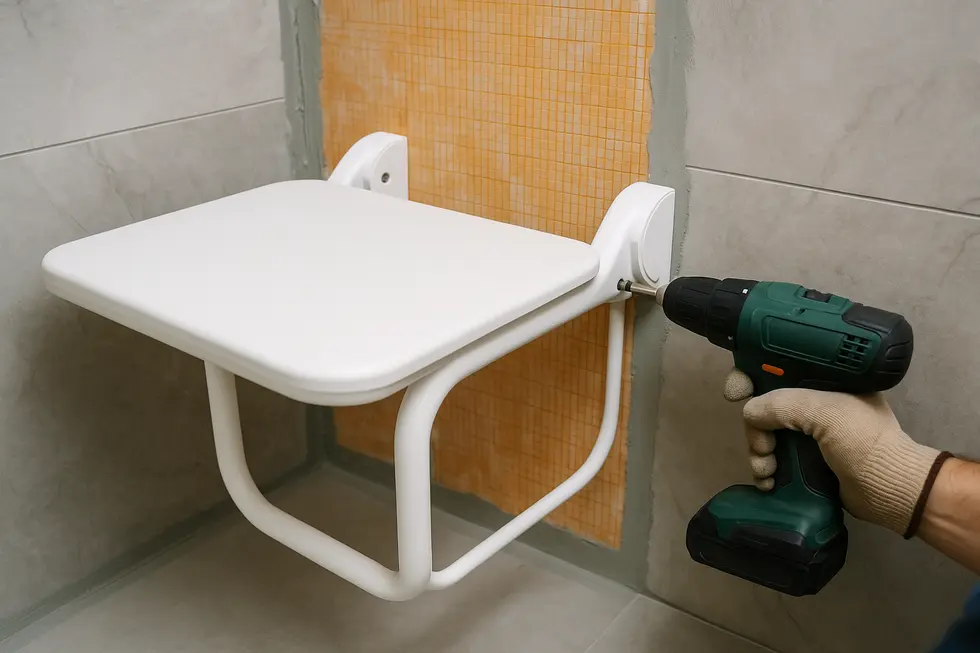
A wall-mounted shower seat must feel rock-solid every time it folds down, yet leave no pathway for moisture to creep behind the tile. Achieving both goals begins long before the first screw is driven. Once seat height is marked, open the wall and insert a 2 × 10 or 3⁄4-in exterior-grade plywood block that bridges at least two studs. Fasten the block with 3-in structural screws so that its face is flush with the future tile plane; this prevents later “crush” when lags are torqued.
With robust blocking in place, the hinge plate can be positioned. Pre-drill through tile and substrate using a diamond spear bit at low speed, cooling with a spray bottle. Transition to a wood bit once the ceramic shell is breached, maintaining a pilot size roughly half the lag diameter. Before driving each 1⁄4 in × 3 in stainless lag screw, inject neutral-cure silicone into the hole. The wet sealant forms a gasket around the threads, stopping wicking along the fastener shank—a common failure point in showers. Torque to 60 in-lb: tight enough to clamp the hinge, not so tight that tile fractures.
If the bathroom design calls for an invisible “floating” bench, concealed aluminum brackets are set on the same blocking during rough-in. Because they support load both above and below the horizontal arm, they resist rotation better than single-flange hinges and leave the finished wall un-cluttered. Seats that include folding support legs offer redundancy; the wall connection still bears significant shear, but the leg absorbs vertical load and reassures users with limited mobility.
Immediately after hardware is installed, bridge every penetration with a patch of sheet membrane or a bead of polyurethane sealant feathered 1 in past the bracket flange. Finally, tool a fillet of silicone along the entire perimeter so that rinse water sheds away instead of tracking behind the plate. These overlapping defenses—blocking, stainless lags, wet-set sealant, and surface membrane—combine to deliver a seat that supports 300-plus pounds for decades without a hint of rot. For additional tips on occupant protection, review our guide to safety considerations for wall-mounted shower seats. Further waterproofing details can be found in Schluter’s KERDI membrane manual (https://www.schluter.com/schluter-us/en_US/Membranes/Waterproofing-Membranes/Schluter%C2%AE-KERDI/p/KERDI).
Beyond the Install: Testing, Caring for, and Certifying Your Wall-Mounted Shower Seat
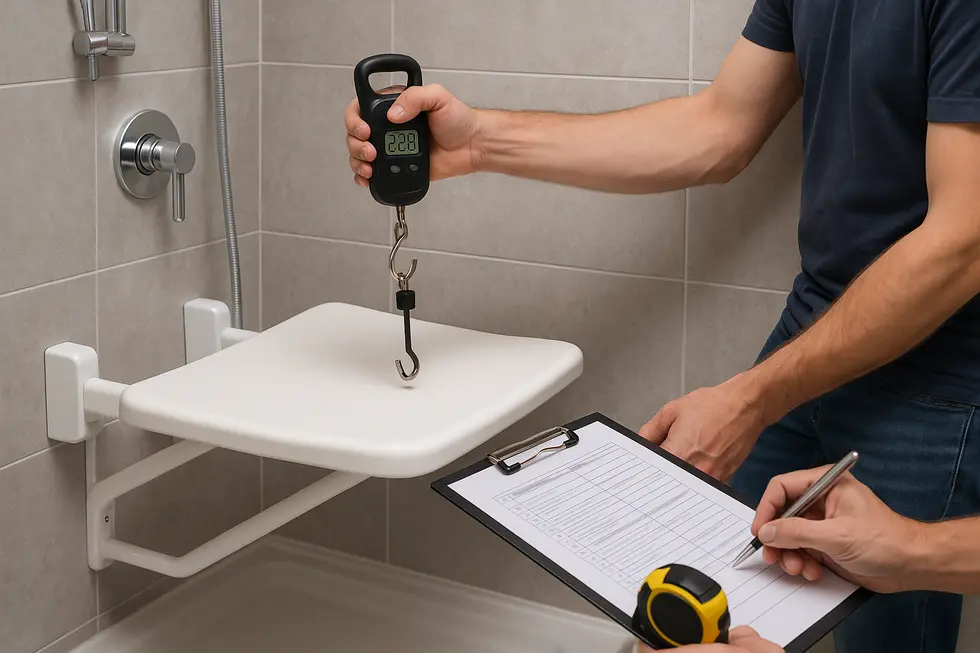
The final screw may be buried beneath the hinge plate, but your wall-mounted shower seat is not truly complete until it proves itself under real-world conditions. Begin by performing a deliberate stability trial: press downward on the front edge, then sit squarely in the centre while feeling for any flex or audible shift. A properly blocked seat should exhibit no more than 3 mm deflection under normal body weight. Next, work the folding mechanism twenty to thirty times. Smooth, resistance-free travel indicates correctly torqued hinges and well-seated bushings; hesitation often points to tile fragments caught behind the hinge or over-tightened lag screws that pinch the pivot.
For models with auxiliary support legs, adjust the threaded feet so they just kiss the shower floor when the seat is loaded. If the legs lift even a millimetre during cycling, re-set them: uneven force transfer will fatigue the hinge welds long before the seat reaches its rated 100 000 cycles. Now escalate to a proof load. Place a 113 kg sandbag centrally for five minutes. Measure sag with a steel rule; anything beyond 6 mm signals either undersized fasteners or mushy blocking that must be replaced before the seat is released for use.
Routine care is refreshingly simple. Rinse soap scum daily, then once a week wipe all surfaces with pH-neutral detergent. Avoid chlorine cleaners that can trigger stainless stress corrosion. Every six months, back out one screw at a time, dab a drop of silicone into the pilot hole, and re-torque to 6 N·m. This micro-seal refresh keeps water from wicking along the threads into the stud bay. A light silicone-free lubricant on the hinge pins will maintain that satisfying, silent fold.
Compliance is your final checkpoint. Use a laser to confirm the seating plane still rests 430–485 mm above the finished floor. Document the proof-load test with photos and torque values; many building departments accept this as evidence in lieu of a separate inspection. When ageing-in-place clients later sell their home, this record converts to real estate leverage because the upgrade is verifiably code-conforming. For a broader look at safety guidelines for wall-mounted shower seats, consult .
Watching a professional run through these same post-install checks can clarify the sequence; a concise video demonstration is available at youtube.
Final thoughts
Completing a wall-mounted shower seat installation is not only about following steps—it’s about ensuring safety, comfort, and standards are met consistently. By following through each phase of planning, installation, and verification, you contribute to a safer and more accessible environment in your home. Always remember that regular maintenance and adherence to the latest guidelines will prolong the functionality and safety of the installation.
Experience a new standard of clean with PEGABidet—designed for comfort, safety, and independence. Join thousands who trust us to make personal care simple and dignified. Contact us at contact@pegabidet.com
About us
PEGABidet is a brand owned by L.A NEXTGEN LLC, based in California. We design intuitive, hygienic, and accessible bathroom solutions that prioritize safety, dignity, and independence. Our mission is to make personal care effortless and empowering for people at every stage of life.